

Our Blog Posts
Top 5 kitchen cabinet trends for 2025
Posted on: 30/07/2025

Expert Advice - Over 35 years experience

We're Rated Excellent on Trustpilot

1000's of Products In Stock Ready

Exclusive Trade Discounts
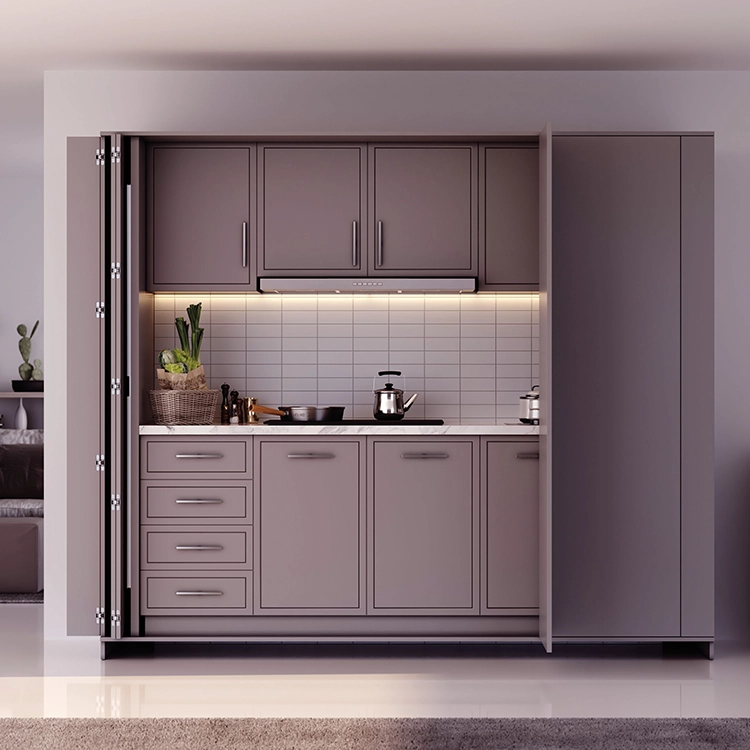
Pivot doors are a popular option in modern interiors, due to their architectural impact, smooth operation, and ability to handle large, heavy door weights. Unlike traditional hinged doors, pivot systems rely on precise positioning and solid fixing points to perform correctly.
In this guide, our experts at Quest explain how to install a pivot door properly, helping professionals in the premium kitchen and furniture industries achieve smooth movement, long-term functionality, and a high-quality finish for their clients.
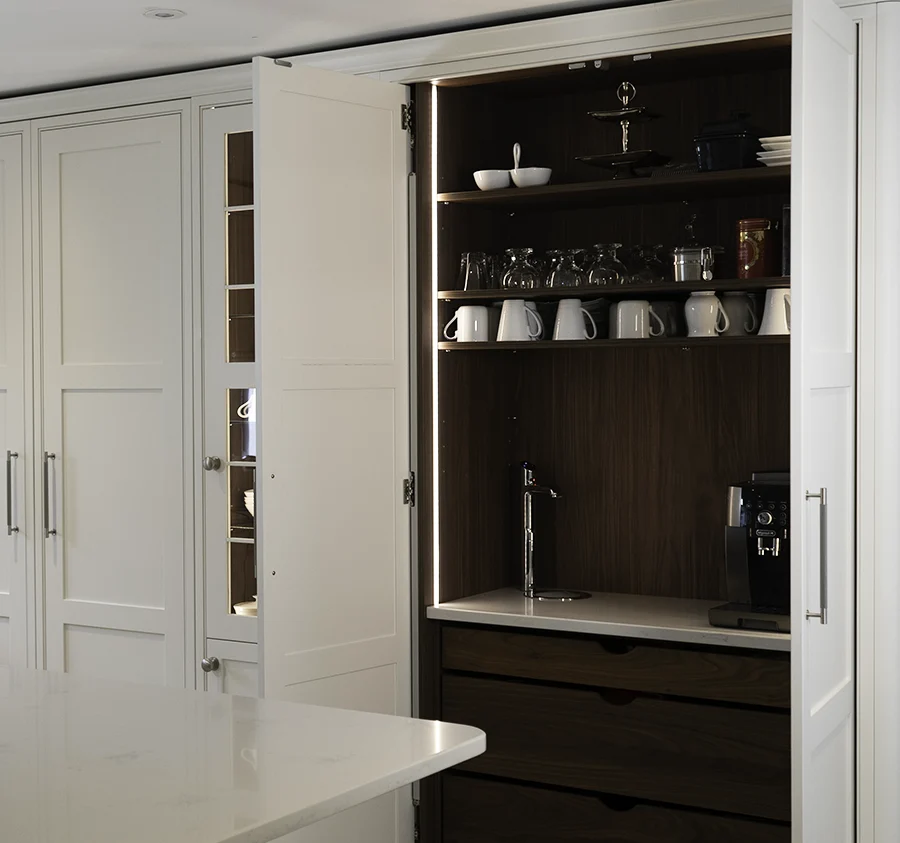
Rather than opening and closing on side hinges, a pivot door rotates on a vertical axis. The weight of the door is transferred through a top and bottom pivot, distributing the load into the floor and head of the opening.
This design allows for wider, heavier doors with minimal visible hardware. Many systems feature soft-close, hold-open, and damping mechanisms – improving usability for your clients and ensuring their satisfaction.
Before getting stuck into your installation, make sure you have the following tools and materials to hand (as well as your client’s chosen doors, of course):


Proper preparation is key to preventing problems later down the line. Before installing, confirm:
Make sure to measure at least twice at this stage, as small errors are immediately obvious once the door has been hung.
Start by marking the pivot location on the floor and header.
Most systems place the pivot offset from the edge of the door, rather than directly on the corner. This affects how much of the door swings into each space.
Next, prepare the door frame and leaf for the pivot hardware.
On concealed systems, accuracy ensures the hardware remains hidden while maintaining correct clearances.
The bottom pivot takes most of the door’s weight, so it’s important that it’s fixed into a solid structure.
If the pivot isn’t level, the door will never align correctly.
With the bottom pivot fixed securely in place, you can then get to work installing the top pivot into the head of the opening.
For smooth rotation and even gaps, the top and bottom pivots must be perfectly in line.
Once you’ve installed both pivots, it’s time to hang the door.
At this stage, the door may not be perfectly aligned but it can be corrected easily with some simple adjustments.
Many pivot systems include built-in adjustability, and this can be used effectively to fine-tune performance.
Adjust for:
It’s important to take your time at this stage, as proper adjustment is what makes the pivot door system feel premium.
Before completing your project, complete some final checks to ensure:
Finally, walk your client through the door operation and explain how they can maintain their new installation.
There are several installation mistakes to avoid, not only to ensure proper door function, but to protect your reputation and save you time on jobs.
Ignoring door weight limits is the mistake professionals make most often, and overloading the pivots is a surefire way to cause premature failure.
Other mistakes include:
Skipping adjustment – results in stiff, noisy movement
When installing pivot doors indoors, focus on precise alignment, concealment, and smooth operation.
For outdoor pivot door installations, you should also consider weather seals and thresholds, corrosion-resistant hardware, drainage and water management, and wind load performance.
It’s also important to remember that external pivot doors require higher spec hardware and careful detailing to maintain performance long term.


Once you’ve installed pivot doors, you should advise your clients to:
To ensure their pivot system continues to operate smoothly and efficiently.
Whether you need help selecting the perfect pivot door hardware for your upcoming project or more expert installation tips to complete the job efficiently and to the highest possible standard, we’re here and happy to offer advice.
Give us a call today on 01280 852 548 or send us an email and we’ll respond to your enquiry as soon as possible.


Ordering is faster, and repeat purchases are simpler with Quest.
Discover how My Quest and Q Points can transform your business operations, streamline purchasing, and lower costs across every order.